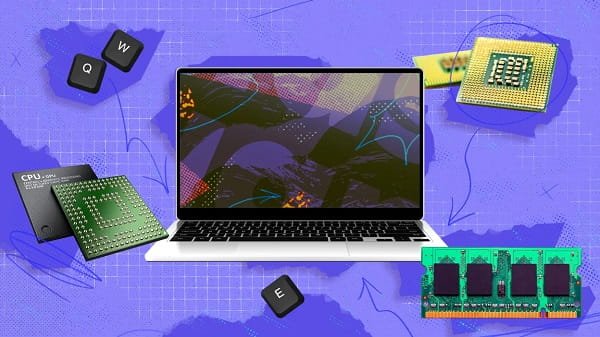
Knowing your laptop’s configuration (also called system specifications or specs) is important for upgrading hardware, installing software, troubleshooting problems, selling the device, or checking compatibility with games and programs. Configuration includes details like processor, RAM, storage, graphics card, and display.
Here’s a simple guide covering the easiest methods for Windows, macOS, and Linux laptops.
1. Check Laptop Configuration on Windows (Most Common)
Windows offers several built-in tools.
Method 1: Using Settings (Easiest)
- Press Windows key + I to open Settings.
- Click on System.
- Scroll down and click About.
- Here you will see:
- Device name
- Processor (CPU)
- Installed RAM
- Device ID
- Product ID
- Windows version
Method 2: Using System Information (Most Detailed)
- Press Windows key + R to open the Run dialog.
- Type msinfo32 and press Enter.
- The System Information window opens.
- In the left panel:
- Click System Summary for basic info (CPU, RAM, BIOS version).
- Click Components → Display for graphics card details.
- Click Components → Storage for hard drive/SSD information.
- Click Components → Network for WiFi and network adapters.
Method 3: Task Manager (Quick Overview)
- Right-click on the Taskbar and select Task Manager.
- Go to the Performance tab.
- Click on CPU, Memory, Disk, and GPU to see real-time details.
Method 4: DirectX Diagnostic Tool
- Press Windows key + R, type dxdiag and press Enter.
- Go to the System tab for processor and memory.
- Go to the Display tab for graphics card details.
2. Check Laptop Configuration on macOS (MacBook)
- Click the Apple logo () in the top-left corner.
- Select About This Mac.
- You will see:
- Mac model name
- Processor / Chip (M1, M2, M3, Intel, etc.)
- Memory (RAM)
- Storage capacity
- Click System Report for complete detailed information (graphics, storage type, display, etc.).
3. Check Laptop Configuration on Linux
- Open the Terminal.
- Use these useful commands:
- CPU: lscpu
- RAM: free -h
- Storage: lsblk or df -h
- Graphics: lspci | grep -E “VGA|3D”
- Complete info: inxi -Fxz (install with sudo apt install inxi on Ubuntu)
Alternatively, go to Settings → About for basic information.
4. Using Third-Party Tools (Recommended for Detailed View)
For a user-friendly interface, install these free tools:
- CPU-Z (Best for CPU, RAM, and motherboard details)
- Speccy (by CCleaner) – Shows everything with temperature readings
- HWMonitor or HWInfo – Great for advanced users
- Crucial System Scanner – Helps check RAM and storage upgrade options
These tools are safe when downloaded from official websites.
5. Check Laptop Model and Brand-Specific Info
- HP: Press Fn + Esc to open HP System Information.
- Dell: Press F12 during startup or use Dell SupportAssist.
- Lenovo: Use Lenovo Vantage app.
- ASUS: Use MyASUS app.
You can also flip your laptop and check the sticker on the bottom for model number, RAM, and storage details.
Important Configuration Details to Note
- Processor: Intel Core i3/i5/i7/i9 or AMD Ryzen
- RAM: 8GB, 16GB, 32GB (and type: DDR4/DDR5)
- Storage: SSD or HDD with capacity (256GB, 512GB, 1TB)
- Graphics: Integrated (Intel UHD) or Dedicated (NVIDIA RTX, AMD Radeon)
- Display: Resolution (1920×1080 Full HD, etc.) and refresh rate
- Battery Health (Windows): Search “PowerShell” and run powercfg /batteryreport
Why You Should Check Configuration Regularly
- Before upgrading RAM or storage.
- When installing heavy software or games.
- While buying a used laptop.
- For technical support or warranty claims.
Conclusion
Checking your laptop configuration is quick and easy. The simplest methods are:
- Windows: Settings → System → About or msinfo32
- macOS: About This Mac
- Linux: Use Terminal commands
For complete details, use System Information or tools like CPU-Z and Speccy. Knowing your laptop’s specs helps you make better decisions about upgrades, performance, and maintenance.